How the charging cable manufacture? Are you as curious as I am? Let's take a look at its production process today.
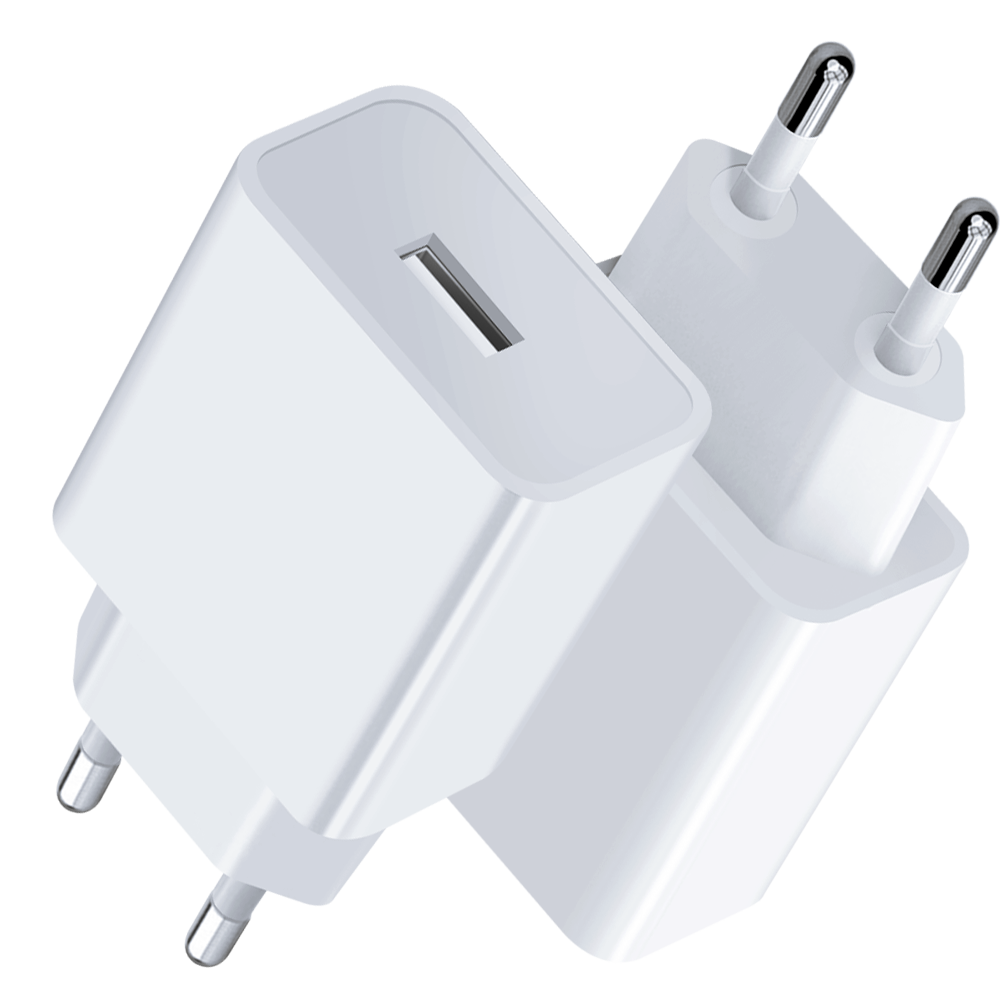
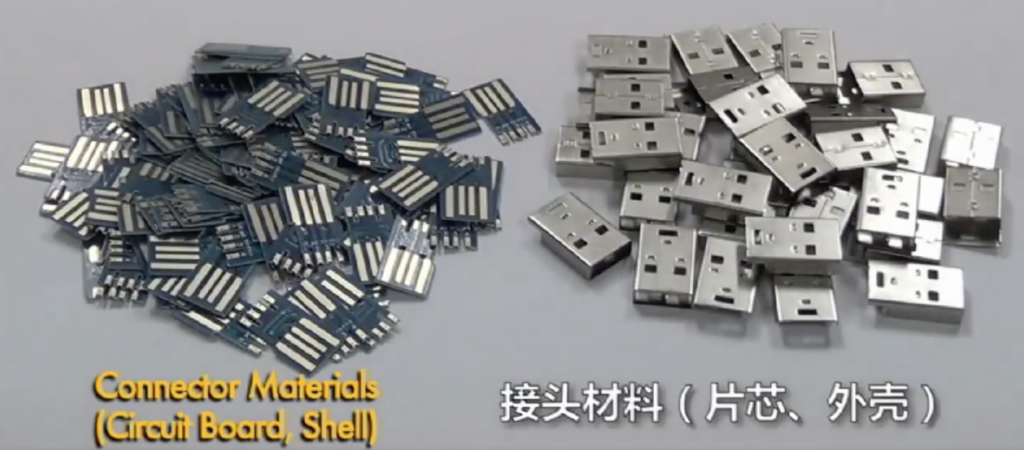
Step 1; Prepare materials: plug, wire, glue

Step 2; Wire cutting: First, we need to cut the wire in the size and length required by the customer. Do not crush and scratch the wire. Like this, cut the wire to the required length.

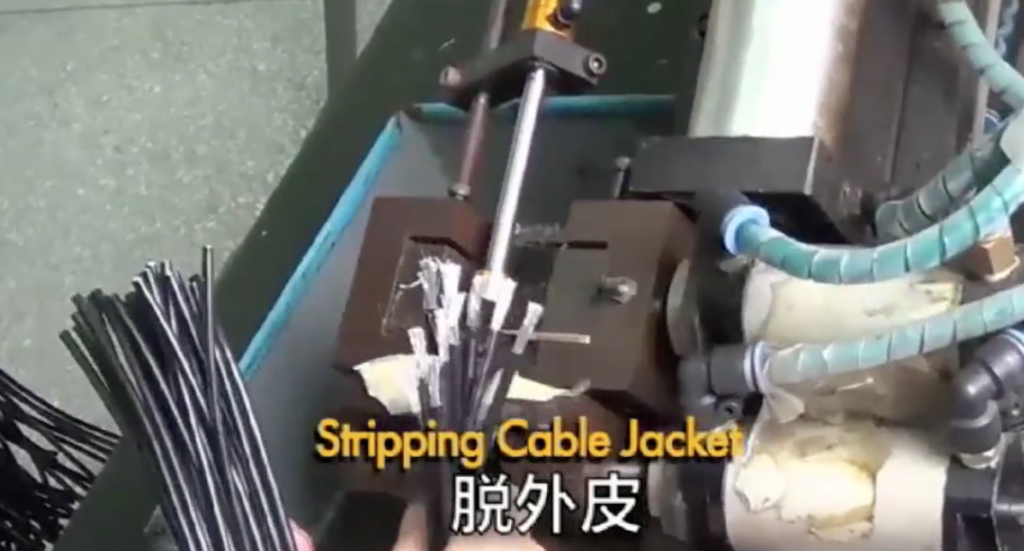
Step 3; Stripping cable jacker: We need to trim off a bit of the outer skin on both ends to expose the inner thread. When you need to ensure the size and length, peel off the outer skin of the wire within the acceptable tolerance range.
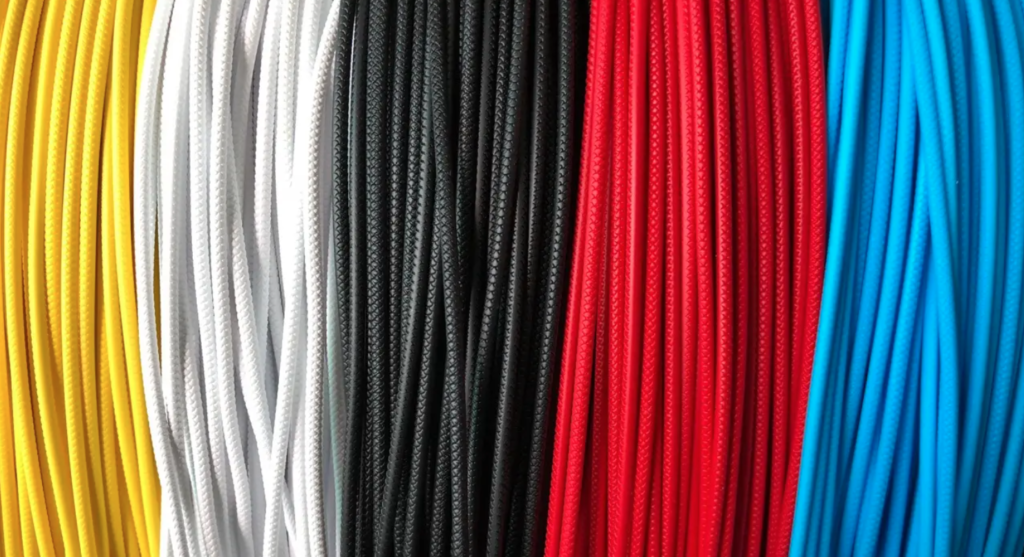
Step 4; Add weaving net: Add weaving to the outer surface of the wire to protect it. For some TPE or PVC wires, it is not necessary to add weaving, so this step can be omitted.
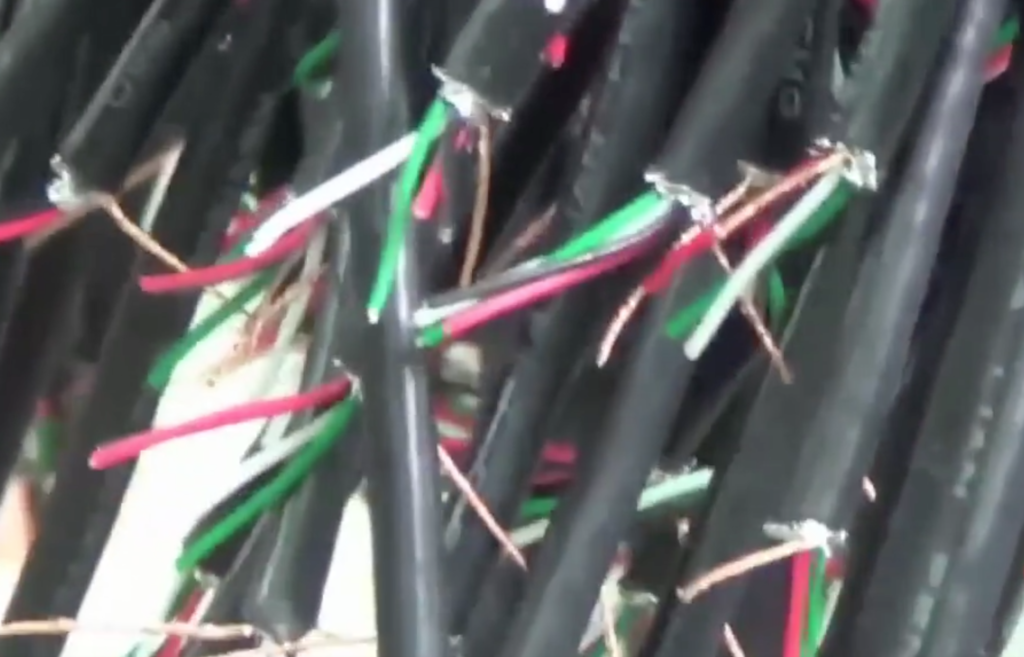
Step 5: Take off the core wire: we need to expose the wire cores at both ends, not to scratch the core wire, not to break off the copper wire and scratch the copper wire
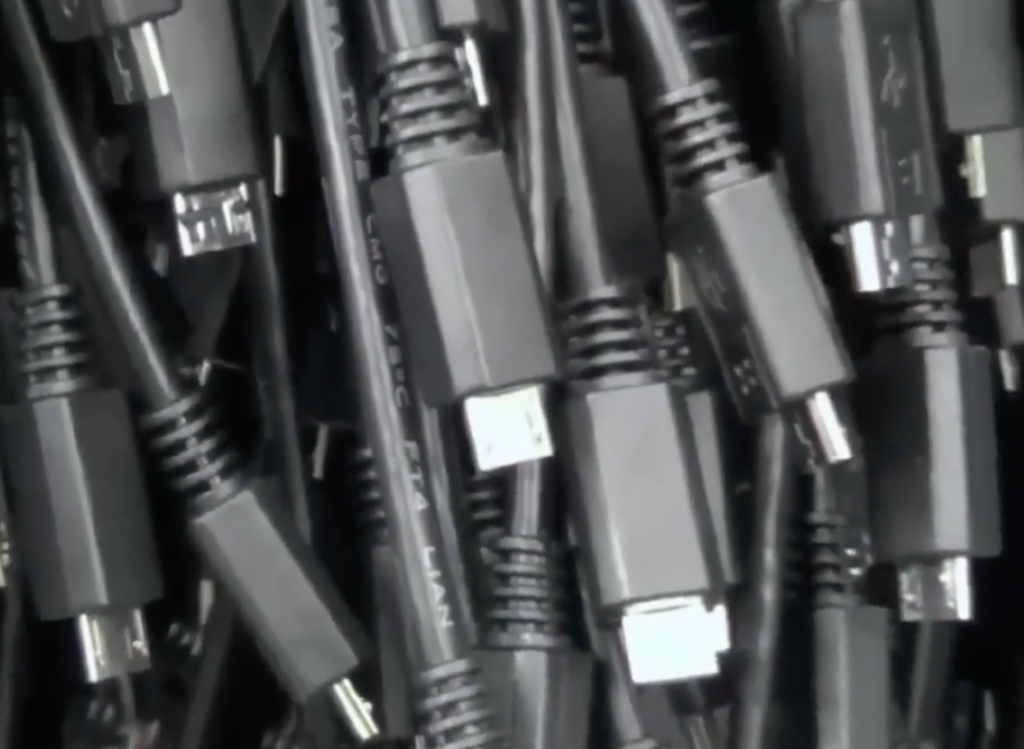
Step 6; Soldering connector to cable: Solder the exposed wire core on the connector. Pay attention to the temperature of the soldering iron/can not be dislocated/connected tin/fake soldering/bright tin point
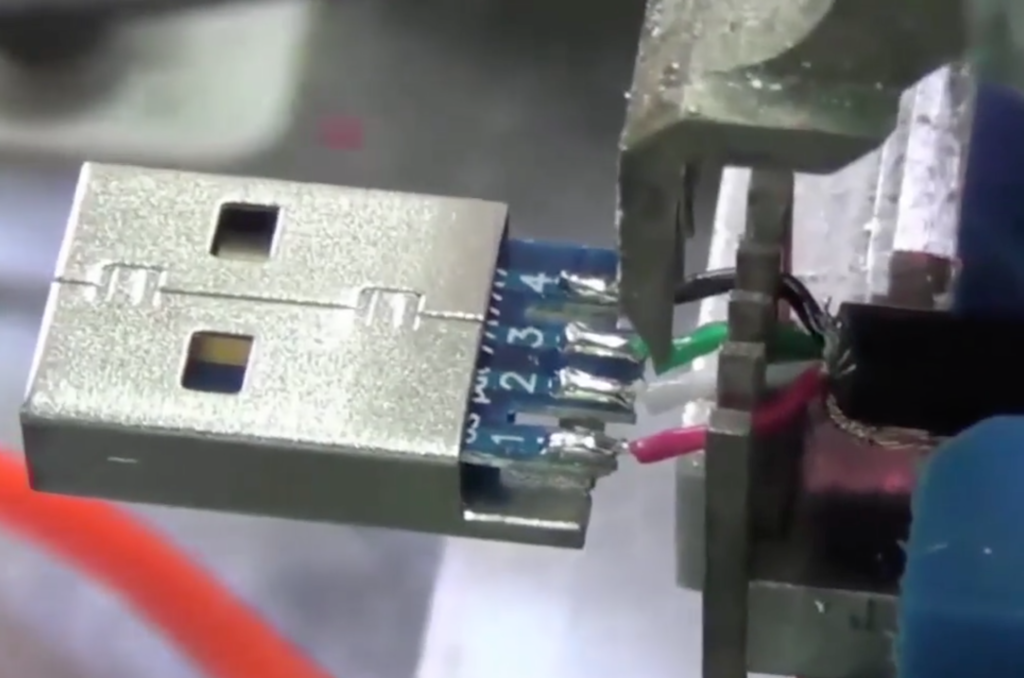
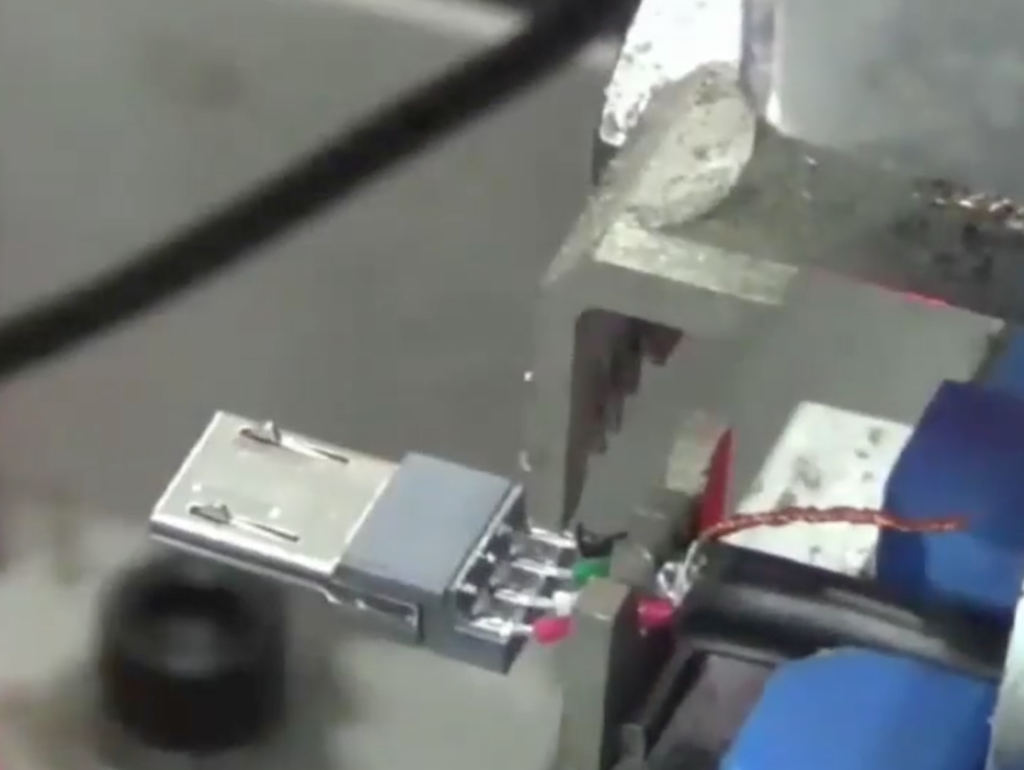
Step 7: tin inspection: check the tin explosion point, can not dislocate / connect tin / fake solder / tin point should be full of bright cesium
Step 8: Forming the inner mold: Put the two ends of the welded joint into the machine and inject it into the inner mold. Pay attention to the molding pressure, temperature and time, and do not punch the glue, pierce the front, or crush the iron shell.
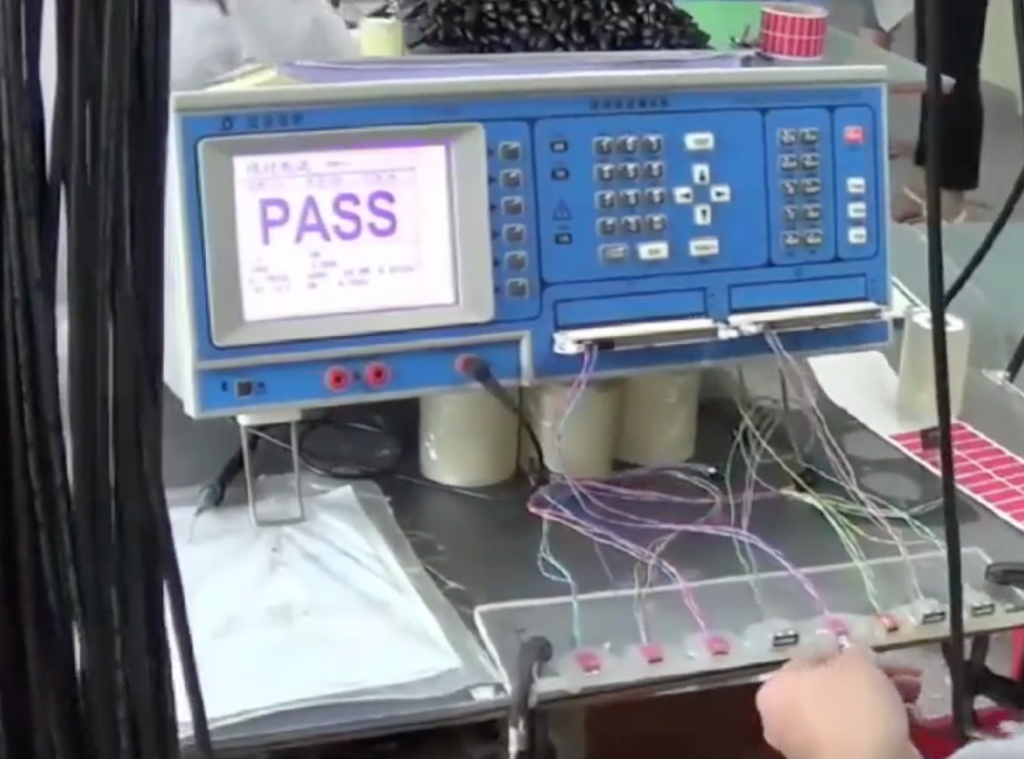
Step 9: Semi-finished product test: take out the point according to the sample, can not open circuit, short circuit, INT function is not good
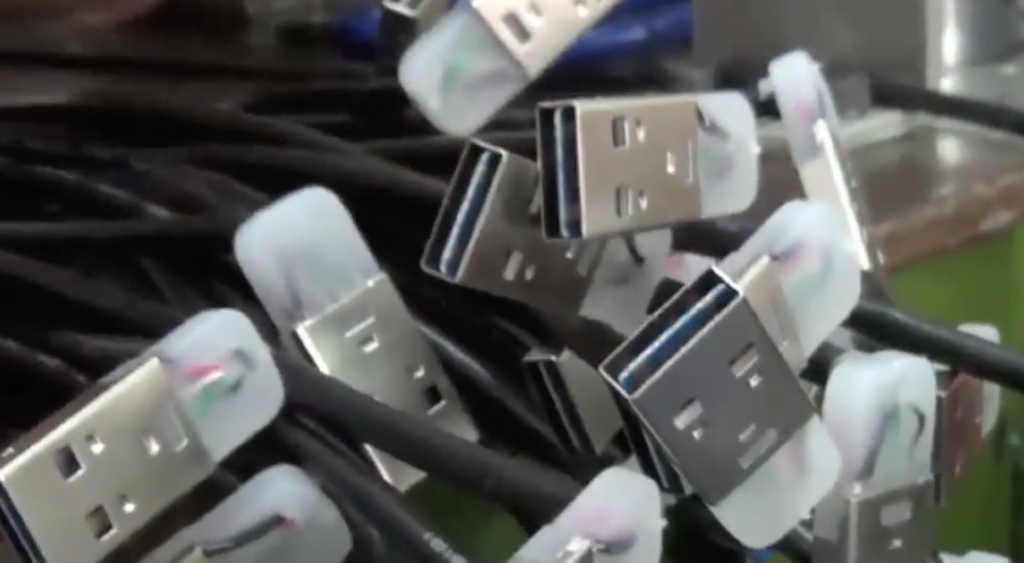
Step 10; forming the outer mold: add the joint shell, or directly inject the outer mold to form. Pay attention to the molding pressure, temperature and time, do not punch the glue, pierce the front, and crush the iron shell
Step 11; test: connect both ends of the data line to test the function. Take out the points according to the template, can not open circuit, short circuit, INT function is not good
Step 12; Appearance inspection: no glue, lack of glue, drape, crushed iron shell, scratches.
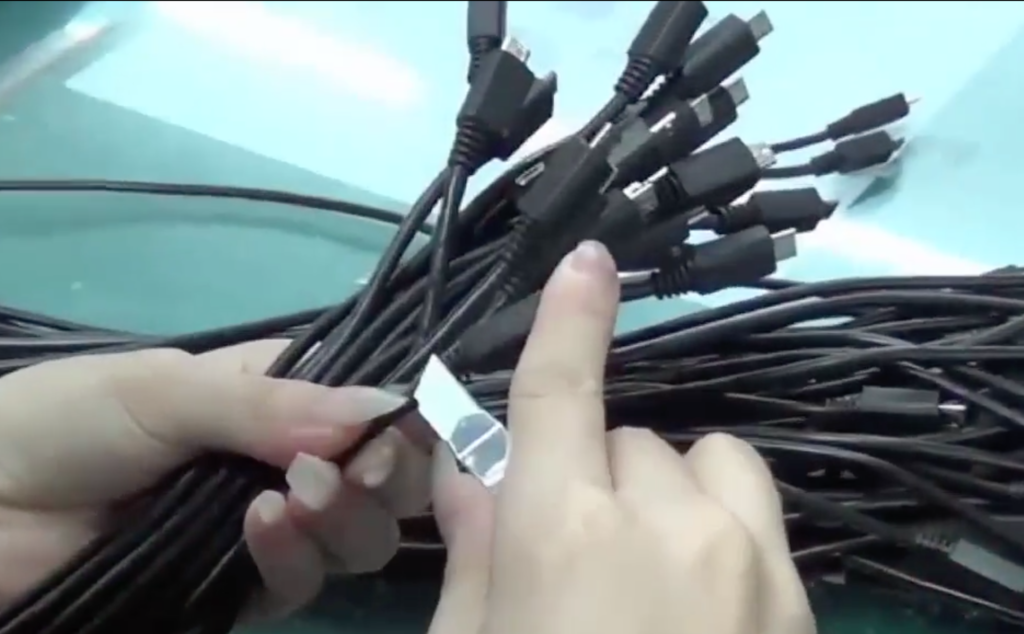
Step 13; Packing: Clean the appearance and tie the wires according to the required size
At this point, the production of the data line is completed. You must not think that the production process of such a small line is so complicated. Each step needs to be completed carefully and carefully according to the requirements, otherwise it will affect the next process and the quality cannot be guaranteed.
We can help you customize the material, color, length, style you want. Welcome to contact us for customization.